


You might have created several react applications in a local machine and accessed them by running npm start. Have you ever wondered how to deploy it and host it somewhere? In this article, we will see how to deploy a react app created using create react app to Google Cloud App Engine.
Creating the react app
If you already have an existing app, please skip to the next section.
Run the following command to create a new react app:
npx create-react-app react-gcp-app-engine
Creating the app.yaml file
Google Cloud requires you to have an app.yaml file in the root directory of the project, which tells it how to deploy your application. Create a file named app.yaml inside the root directory of your project with the following content:
runtime: nodejs16
handlers:
  # Serve all static files with url ending with a file extension
  - url: /(.*\..+)$
    static_files: build/\1
    upload: build/(.*\..+)$
  # Catch all handler to index.html
  - url: /.*
    static_files: build/index.html
    upload: build/index.html
The above file tells Google Cloud to upload all the contents inside the build folder and point any incoming request at the root to build/index.html.
Creating new Project in Google Console
If you haven't signed up for Google Cloud, you can do so by navigating to http://console.cloud.google.com/.
Once you have signed up for Google Cloud, navigate to the Cloud Console Dashboard and create a new project.
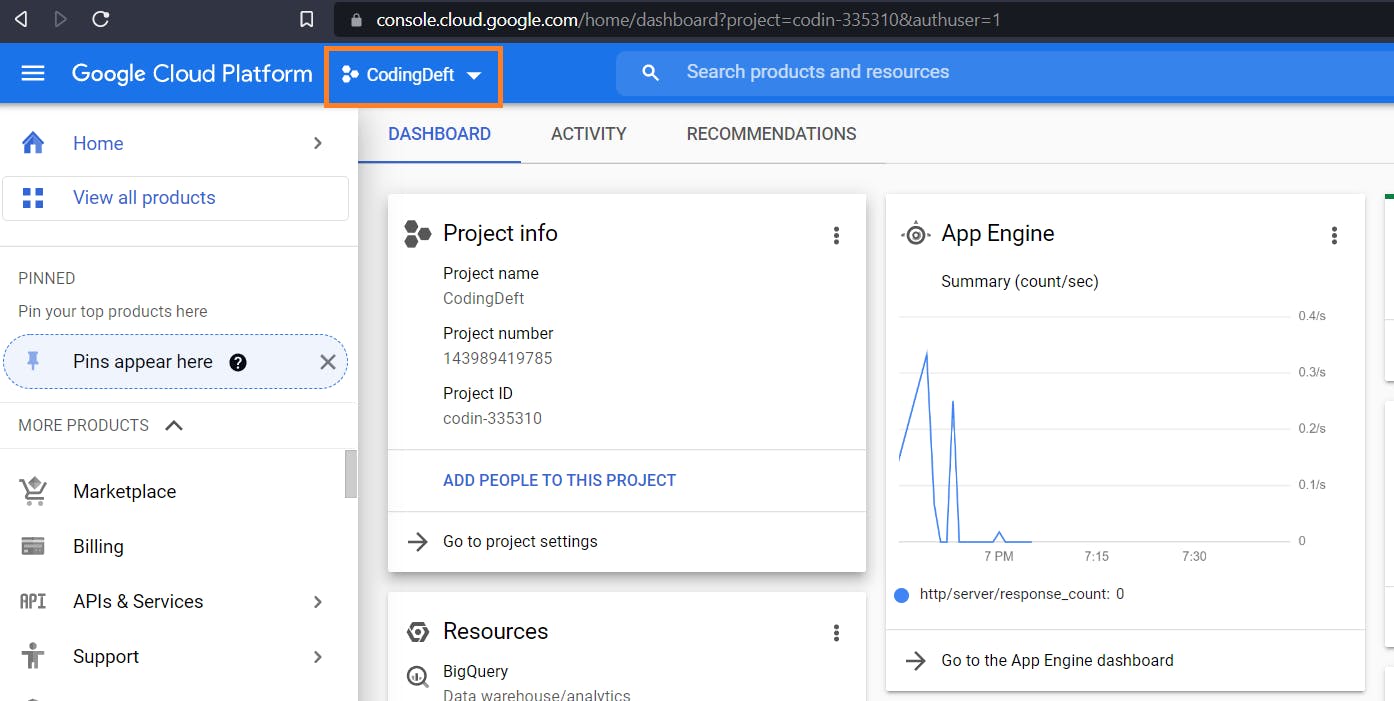
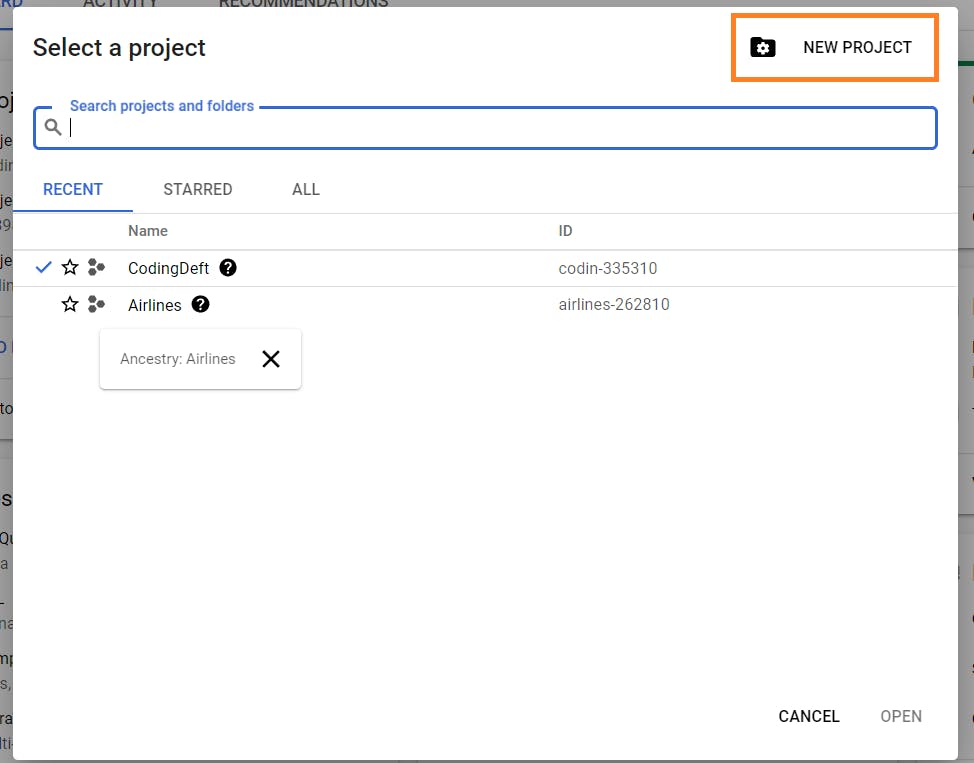
Click on New Project:
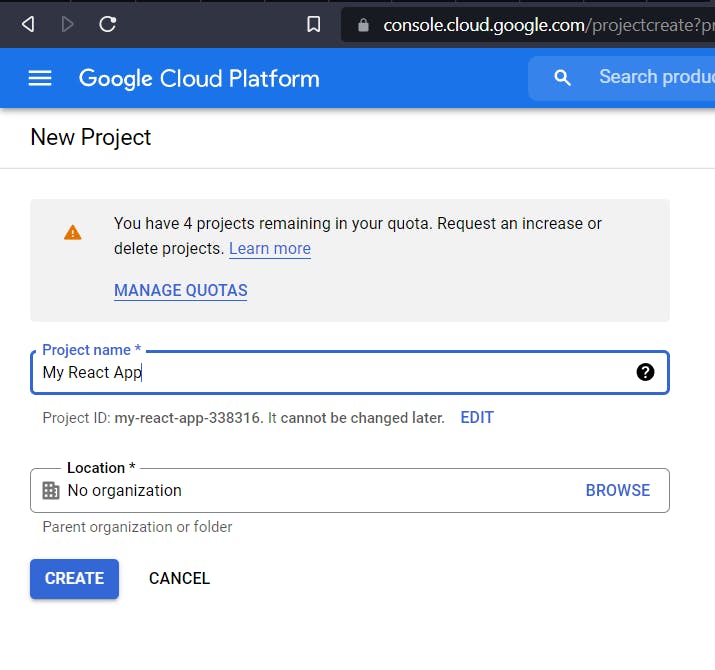
Give a name to your project and click on Create:
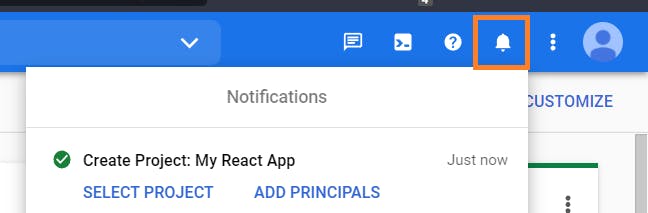
It will take some time to create the project. You can view the progress by clicking on the notification icon in the header:
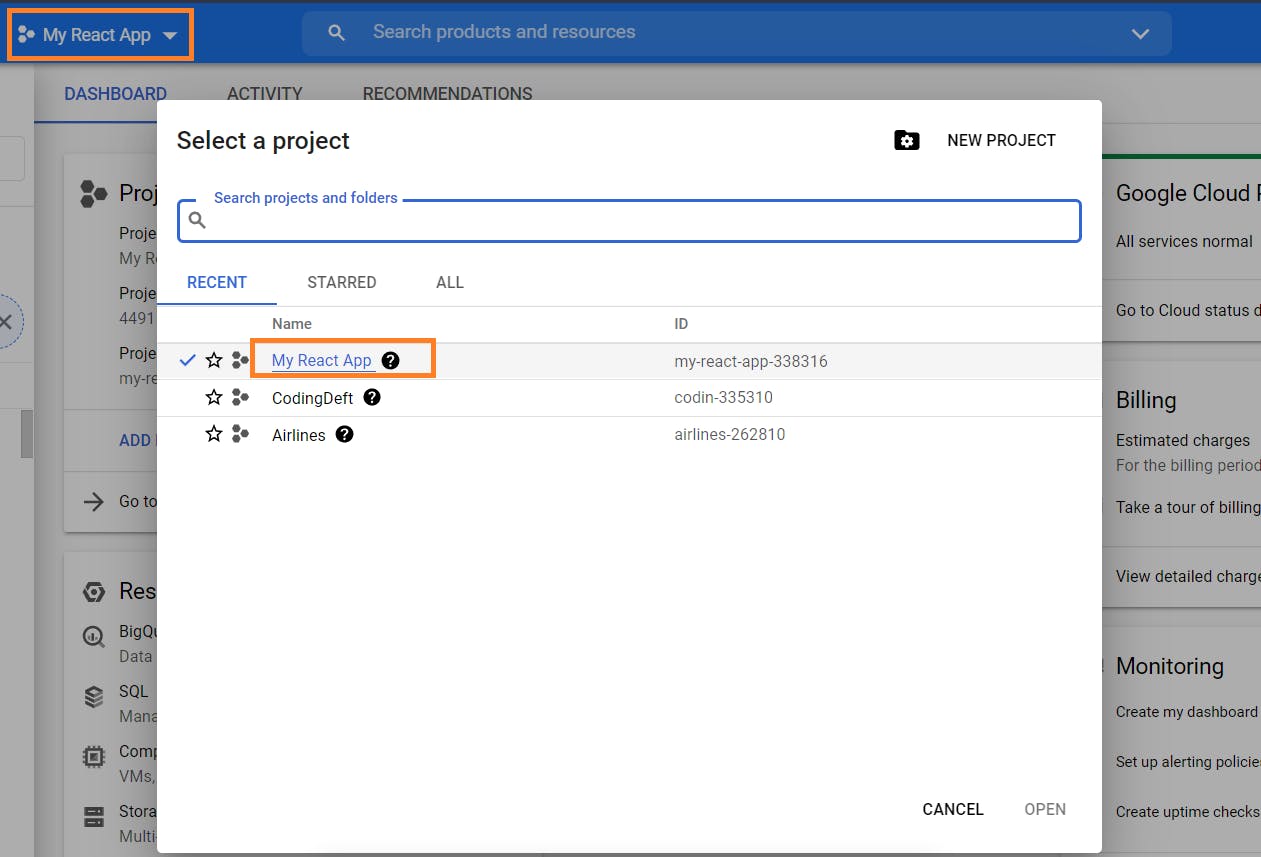
Now select the newly created project and open it:
Creating App Engine
Now let's create an App Engine, which will host our application.
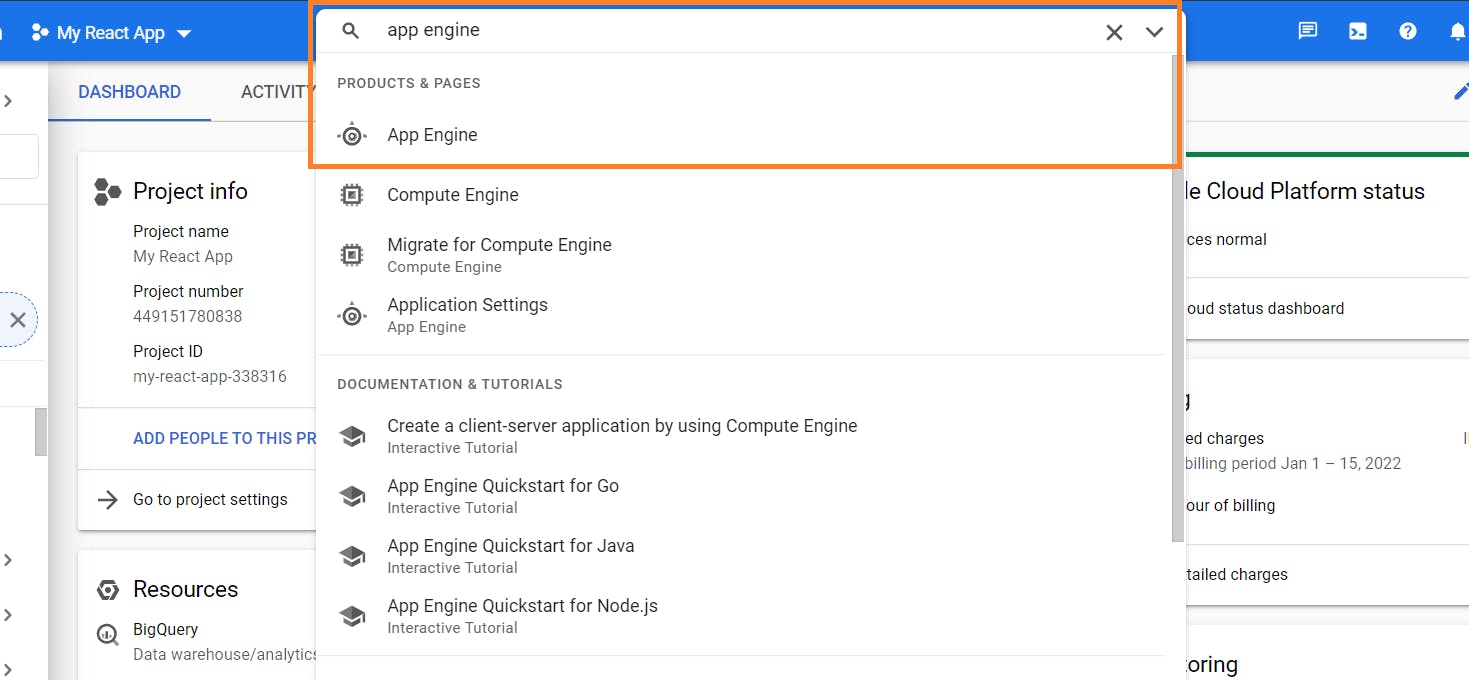
Search for 'App Engine' in the search bar and click on App Engine:
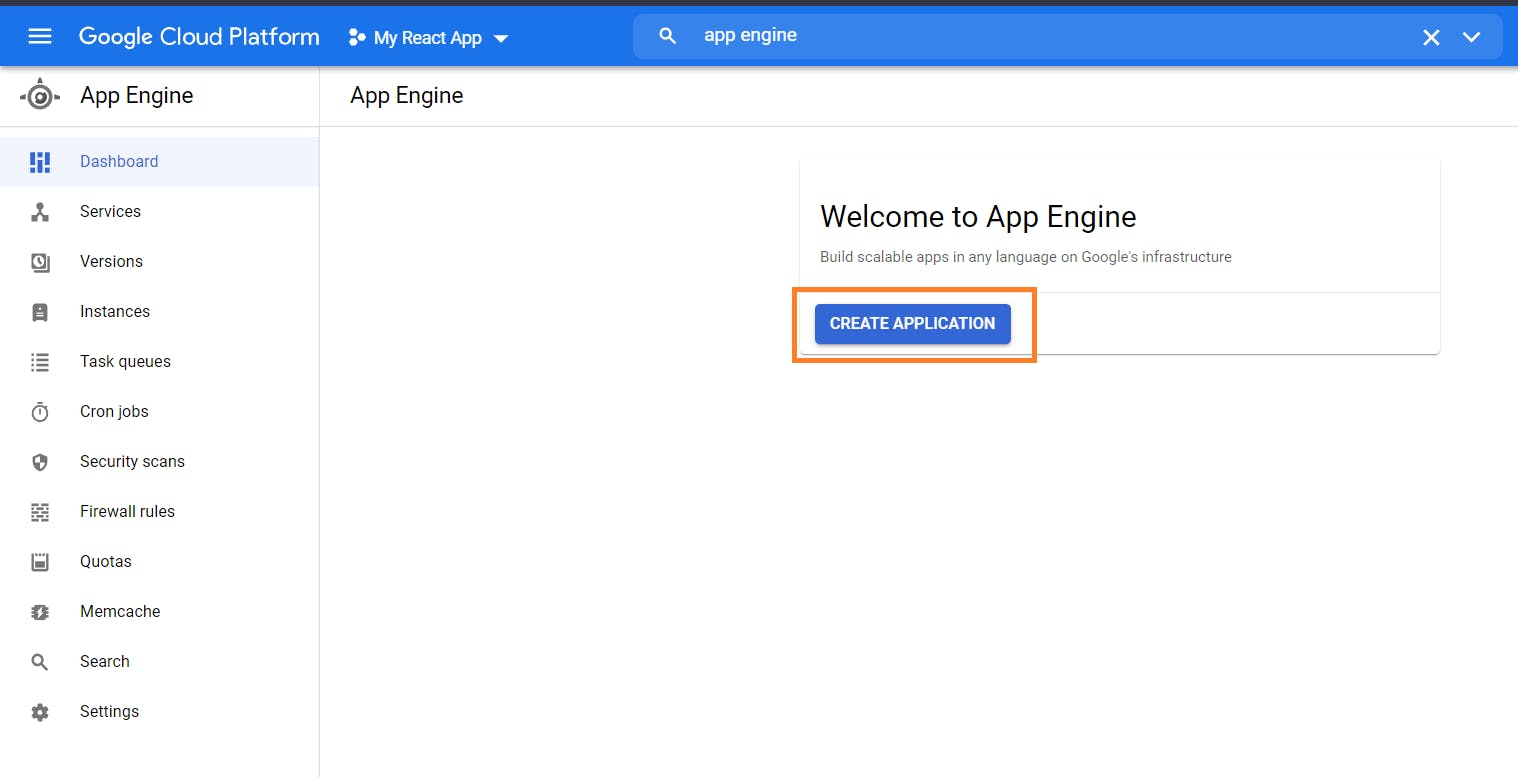
Now click on Create Application:
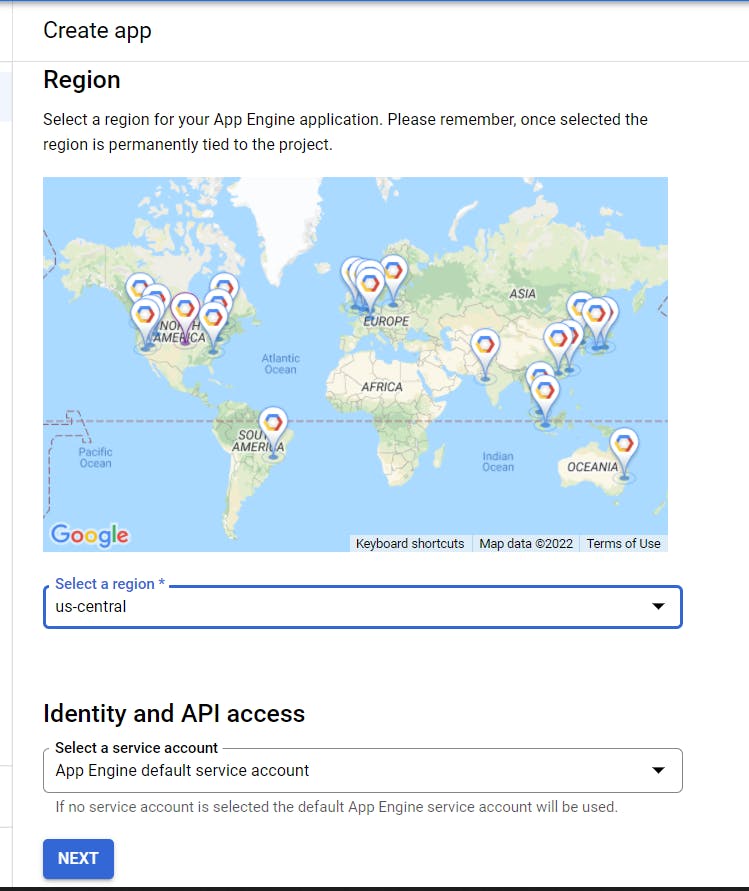
Choose the region if you want to (choose the one in the country from which the majority of your users come), otherwise leave it as it is. In the Service account dropdown, choose the default one and click on Next:
Wait for the application to be created. Once it is completed, a notification will arrive at the header.
Deploying to Google App Engine
There are 2 ways in which you can deploy to Google Cloud: one using the Google Cloud SDK and another using Google Cloud Shell. We will explore both ways.
Deploying using Google Cloud SDK
First, install the Google Cloud SDK by running the following Powershell command on Windows:
(New-Object Net.WebClient).DownloadFile("https://dl.google.com/dl/cloudsdk/channels/rapid/GoogleCloudSDKInstaller.exe", "$env:Temp\GoogleCloudSDKInstaller.exe")

& $env:Temp\GoogleCloudSDKInstaller.exe
If you are using any other operating system, you can find the instructions to install it here.
Once the SDK is installed, open the command prompt in Administrator mode, navigate to the project directory, and run the following command:
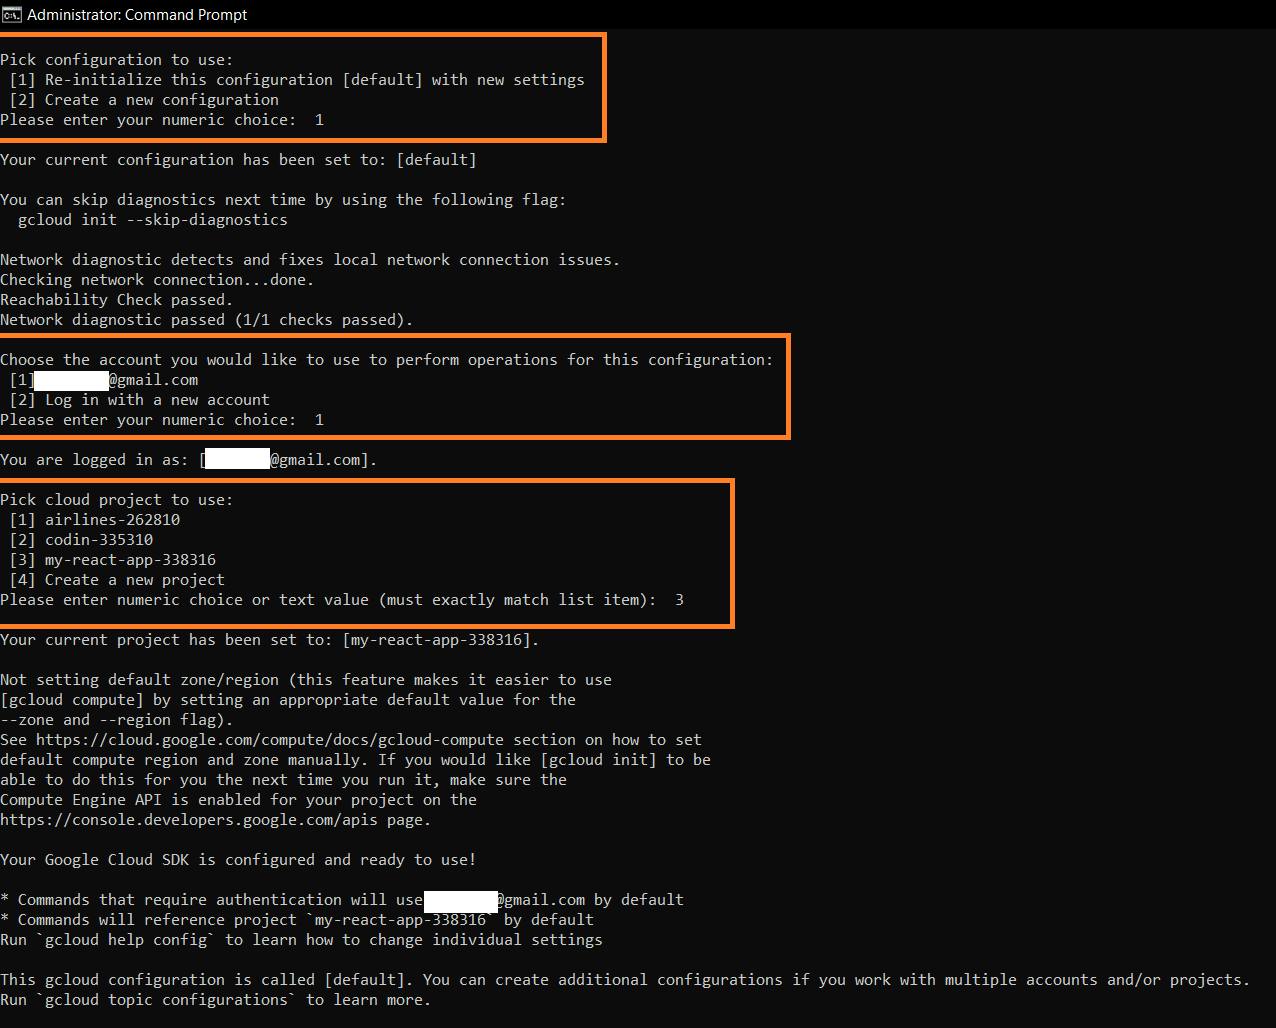
gcloud init
It would ask you to log in if you are running it for the first time. After logging in, provide the options as shown below:
Now build the project using the following command (you can use yarn build alternatively):
npm run build
Once the build is completed, run the following deploy command to deploy the build files to Google App Engine:
gcloud app deploy
When asked for confirmation, type Y:
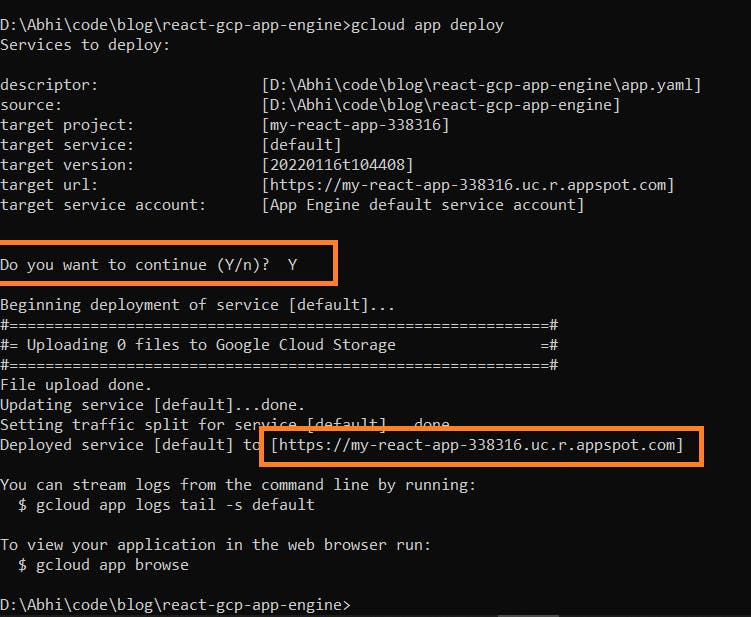
Once the deployment is done, it will print out the URL where it is deployed. You can visit it (my-react-app-338316.uc.r.appspot.com) and see if the pages are loading fine.
Deploying using Google Cloud Shell
An alternative way to deploy without installing Google Cloud SDK locally, is to run the deployment from Google Cloud Shell.
Before proceeding further, make sure that you have pushed your project to a git repository so that we can download it in the Cloud Shell machine.
You can activate Cloud Shell by clicking on the Terminal icon in the header of your Google Console:
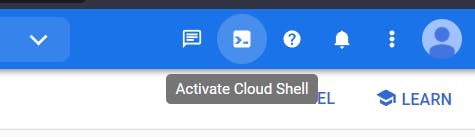
A console will open within the browser. Now clone your repository by running the following command (replace the git URL with yours):
git clone https://github.com/collegewap/react-gcp-app-engine.git
Now navigate to the cloned directory using cd react-gcp-app-engine/.
Install all the dependencies by running npm i.
Once the dependencies are installed, start building the project using the following command:
npm run build
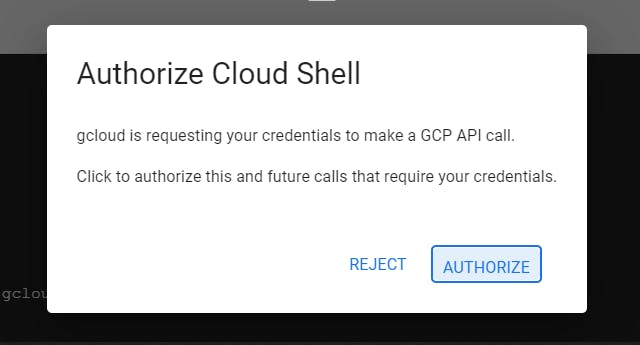
After the build has finished, run gcloud app deploy to deploy your application.
It may ask you to authorize cloud shell, please click on Authorize:
Once the deployment is completed, it will print out the URL where it is deployed and you can access the same.
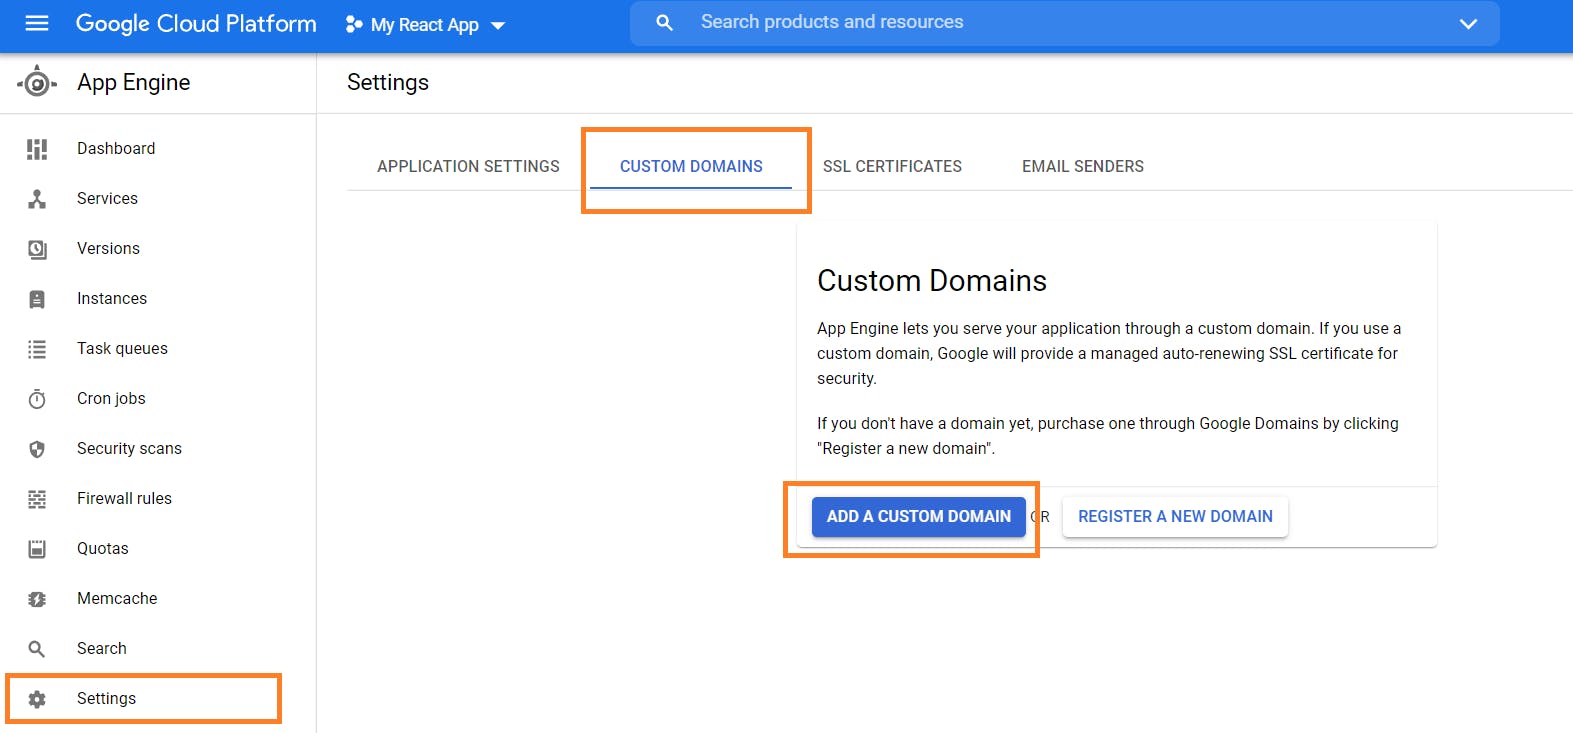
Configuring a Custom Domain in Google App Engine
App Engine, by default, will assign a random subdomain like my-react-app-338316.uc.r.appspot.com to your website. If you want to configure your own domain, you can do so by clicking on Settings → Custom Domain → Add a Custom Domain
You will have to verify your domain and update DNS records in your domain registrar.